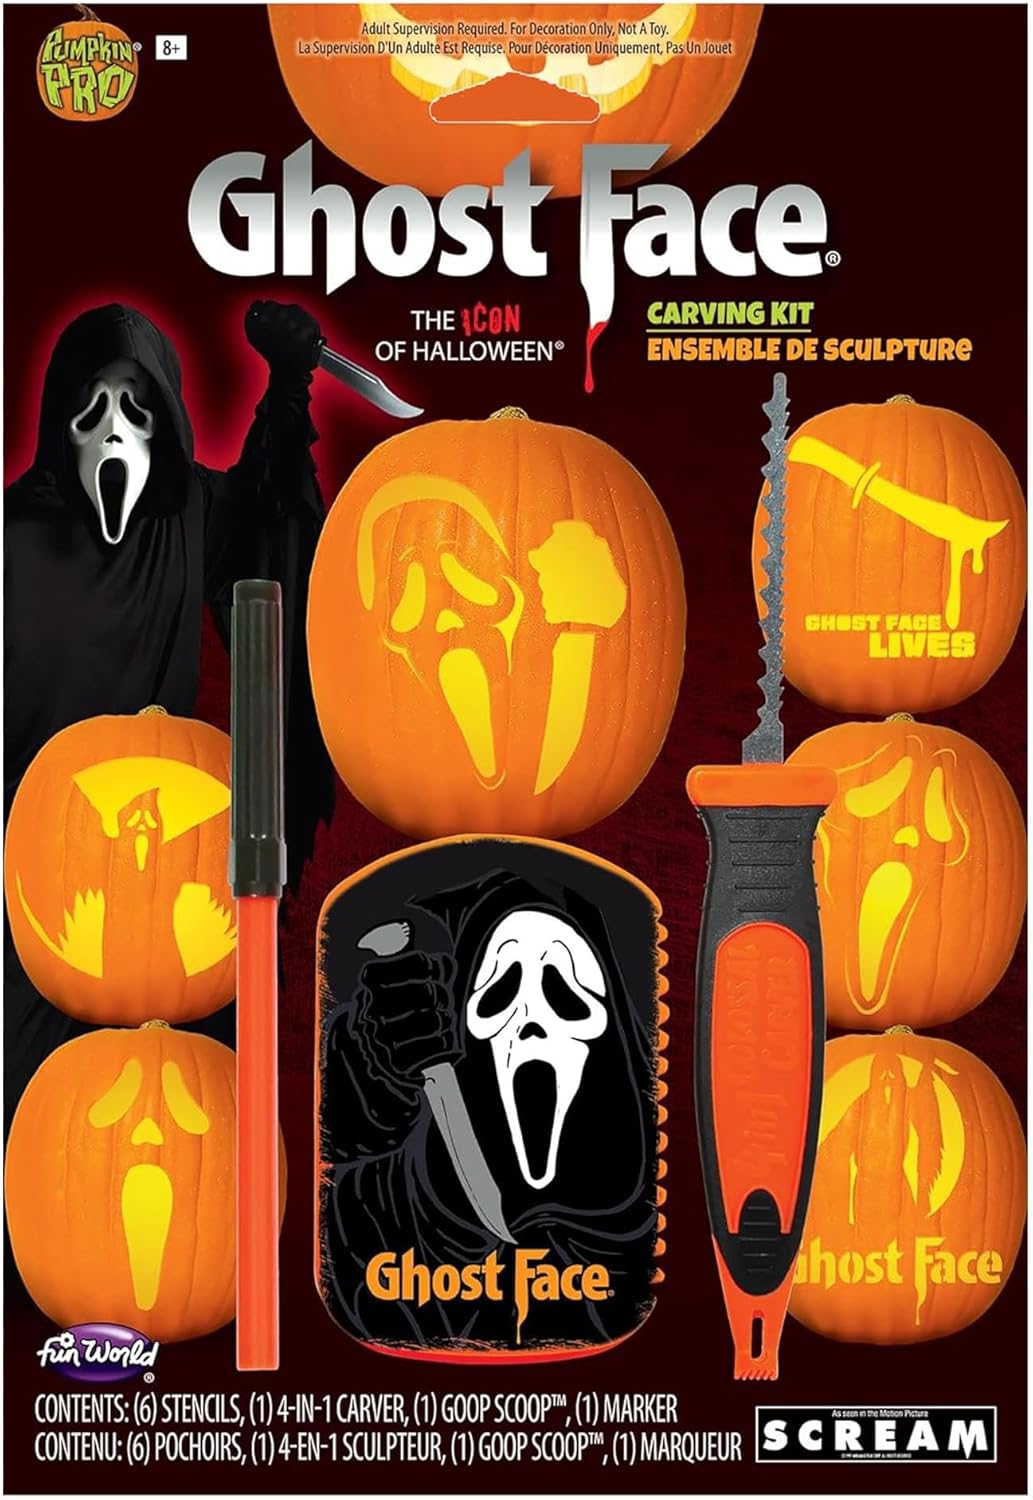
Fun World Officially Licensed Ghost Face Scream Halloween Pumpkin Carving Decorating Kit
FREE Shipping
Fun World Officially Licensed Ghost Face Scream Halloween Pumpkin Carving Decorating Kit
- Brand: Unbranded

Description
If you’re really up for a demonstration of your talent as a visual artist, we guess you could try to recreate the infamous virus’ shape out of pumpkins, but I can’t exactly imagine how you’d go about it. I guess that’s why you’re the artist, and I’m just the one that tries to inspire you for your next pumpkin carving project. However, a much simpler way to do it would be exactly the way you’ve seen it in the example photograph we attached above. If you’re over scary masks, creepy faces, witches, goblins, skeletons, and ghosts, you could carve a cute, surprised face on your pumpkin this year for Halloween. It’s actually even easier than carving a smile since the ‘surprised face’ basically involves drilling three ping-pong-ball-sized (approximately) holes into the side of your pumpkin. No complicated pattern, no drawing, no artsy, pretentious stuff.
Are you want decorate your home or garden for Halloween in a spooky way ? Than scream pumpkin carving! This unique technique involves carving intricate designs onto a pumpkin to create a spooky, scream-worthy effect. In this guide, we’ll covered step-by-step info to carve your own scream pumpkin that will impress your friends and neighbors. Scream Pumpkin Carving (Image: Jeff Brown) It could be intimidating at first, you know, staring at a blank canvas (i.e., your uncarved pumpkin), but with the right attitude, we can transform it into something jaw-dropping. 30 Inspiring Pumpkin Carving Ideas More than that, you probably even wondered if you could do the same with yours, and the answer is yes. How to Get Nice Pumpkin Designs?We recommend carving your pumpkin on the kitchen counter or dining table. Wipe down and cover your surface with cardboard, newspaper or a plastic sheet before you start. Be careful when using sharp tools and always supervise children. We’d also suggest having a bowl ready to scoop the insides of your pumpkin into - as it can get messy.
If you really want to know how to carve a pumpkin like a pro, instead of cutting through, instead try the ‘scraping’ method we mentioned before – carve away the dark bits of the design, so you’re not cutting all the way through the pumpkin, but instead carving through the wall of the pumpkin’s skin to a depth of about half a centimetre. It’s sometimes easier to go from the centre of the areas you’re cutting out towards your scored lines, as this helps you keep the details intact. You can also use a potato peeler to help you scrape away some of the larger areas. If you’re wondering how to carve pumpkin faces, the steps are pretty much the same – but if you’re looking at some of the impressive 3D textured faces, you might want to invest in a proper sculpting kit, or at least some craft knives. We also suggest you start on a low-speed (RPM) setting so that you can grow accustomed to the machine and test how well it carves into your pumpkin, and then work your way up from there. Most of the time, you won’t need to increase the speed, as the low speed works great results as far as details are concerned. Cut out & Carve: Once it's printed, cut along the lines to create your ghost face stencil. Attach it to your pumpkin, I find it easiest to tape it to hold it in place, then trace it with a pen or marker. Safe Carving: Always prioritize safety when using sharp tools. Adult supervision is necessary if children participate in carving.
GET THE SCOOP!
However, that doesn’t mean you can just drill three identical holes and say, “Look, it’s all surprised now!” because that’s not how it works. If you do that, you’ll basically have a pumpkin-shaped bowling ball, and we don’t want that now, do we? Instead of drilling round holes for the eyes, try making them look like upright eggs, and for the mouth, try making it look sort of like a comma (the symbol) but upside down. You can also add a tiny little nose between the lower sections of the eyes, and if you’re confused, try using our photo as an example. 16. Pumpkin Design – Drilled Vases Not convinced you can crank out one of these grand gourds? Pro carver Jason Green of Karvd.comdidn’t think he could do it either. “When I was halfway through my first carving, I almost scrapped the whole thing,” he said. “The thing about these carvings is that until they’re lit up, they can look just plain strange.” But, with a steady hand, the right tools, and a bit of patience, you could easily create show-stoppers like the ones shown here.
Creating the entrance to your pumpkin from the bottom instead of the top allows for you to pull the insides out easier and creates a more streamlined look. If using a real candle, it also prevents the risk of accidental burns when lighting the flame inside as you can place your pumpkin on top of the candle instead of trying to drop a lit candle in. Pumpkin carving, much like any other artistic outlet, requires a lot of patience, a steady hand, a bit of strength (you can’t possibly imagine how hard pumpkin shells can get), and a lot of practice. You can’t expect to be a master sculptor just moments after touching a pumpkin and a chisel for the first time in your life.
TREAT YOURSELF!
Related: SCREAM PUMPKIN CARVING STENCIL (FREE PRINTABLE) PRINTABLE PUMPKIN STENCILS AND CARVING TIPS
- Fruugo ID: 258392218-563234582
- EAN: 764486781913
-
Sold by: Fruugo